How to Set Up Vocational Task Boxes in a Special Education Classroom
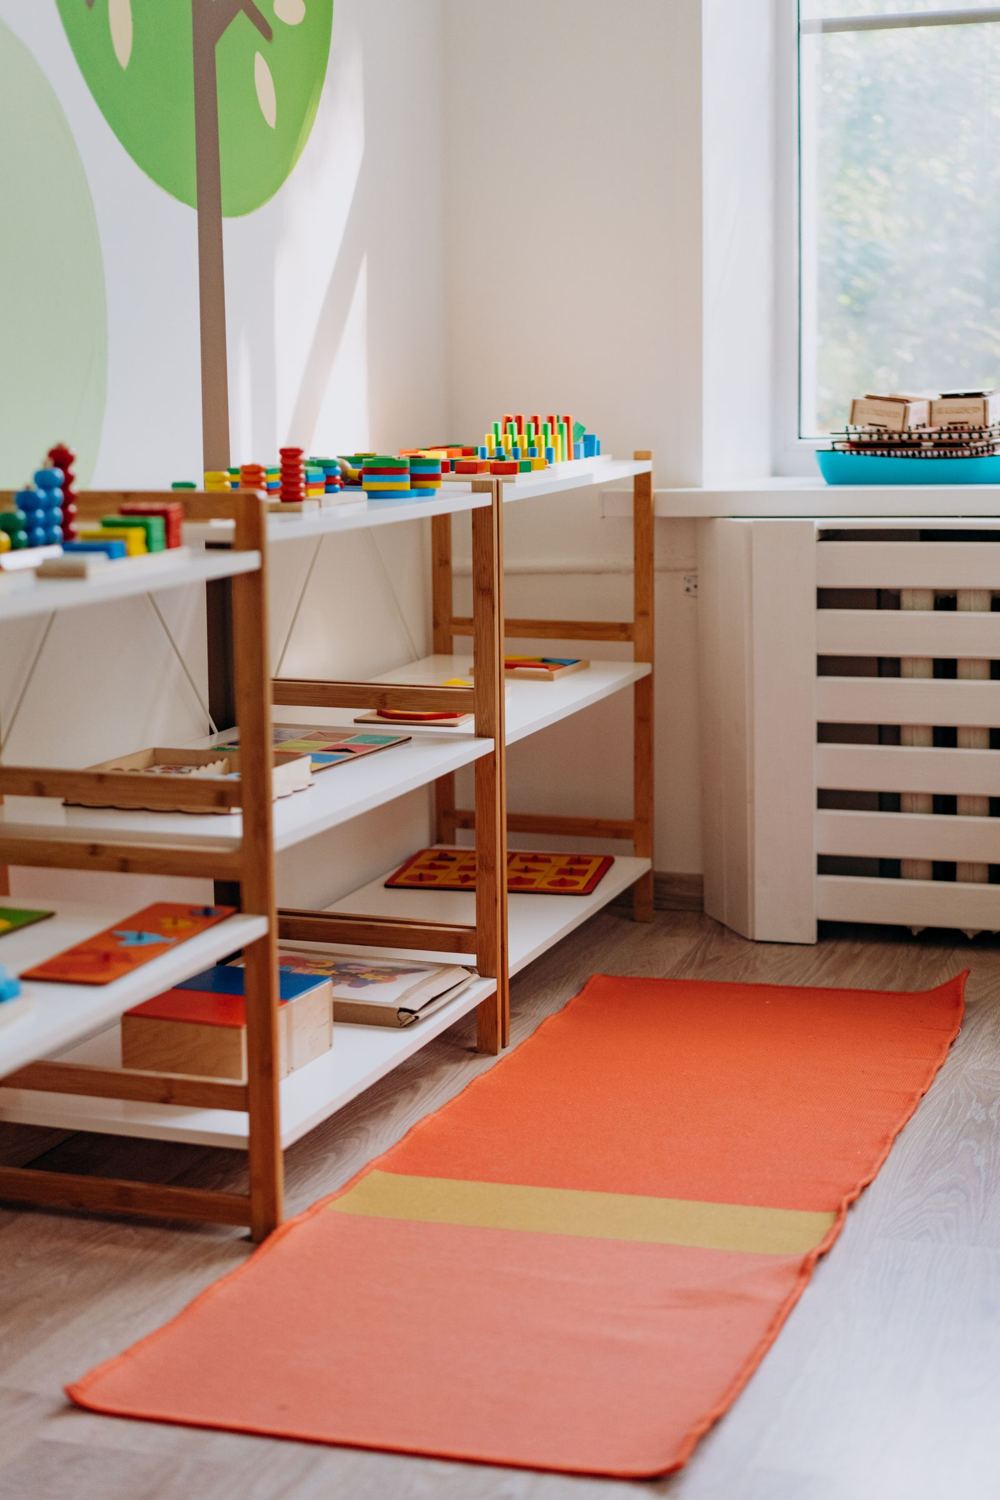
Task boxes are one of the highest-impact setups in a special education classroom. A good box gives a student a real piece of work to do with a clear start and a clear finish, and it frees the teacher up to work with someone else. A bad box is a pile of stuff in a shoe box that nobody touches after September. Here is a setup, tried and tested in real classrooms by a special education teacher, so the boxes get used all year.
Pick tasks that look like real jobs
For older students, every box should connect to work they might do later. Sorting silverware and rolling it in napkins is restaurant work. Filing folders in ABC order is office work. Restocking a shelf to a par level is retail and warehouse work. When the task matches a real job, the data you take means something at the transition meeting, and the student can tell you what job it is for.
Start with five or six boxes, not forty. Choose a mix of levels: one or two easy put in or matching tasks, a couple of sorting tasks, and one or two that take several steps.
Gather cheap materials
Almost everything in these boxes can come from the dollar store or the recycling bin. Clear plastic shoe boxes with lids, file folders, envelopes, plastic silverware, napkins, clothespins, index cards and zip bags cover most of it. Clear lids matter because students can see what is inside, and so can you when you are checking the shelf.
Label every box the same way
Each box gets a number and a picture label on the front and the end. Use the same spot every time so students learn where to look. Inside the lid, tape a direction card with the picture steps and the IEP goal it targets. That card is for staff as much as for students. A sub or a new para can pick up any box and know what success looks like.
Teach the routine before the task
The first week is about the routine, not the work. Get the box from the shelf, carry it with two hands, open it at your desk, do the work from left to right, put everything back, close it and return it. Model it, then practice it, then fade the prompts. Once the routine is solid, a student can finish two or three boxes in a row with no help, and that is the whole point.
A simple left to right setup helps a lot: materials on the left, workspace in the middle, a finished bin on the right.
Store and rotate
Keep boxes on one shelf at student height, in number order. Rotate about a third of them every two or three weeks so they stay interesting, and keep a couple of favorites out all the time for students who need the predictability.
Take quick data
Tape a small data strip to the inside of the lid or keep one clipboard by the shelf. Track three things: did the student complete the box, how many prompts did it take, and how long it took. That is enough to show growth on a vocational goal and to decide when a student is ready for a harder box. When a student completes a box independently three days in a row, move up a level.
Troubleshooting
- If a student dumps the box, there is probably too much inside. Cut it in half.
- If a student asks for help every time, the steps are not visual enough. Add a picture for each step.
- If a student finishes in two minutes and is bored, add a second step, like counting or checking the work against a key.
Boxes that work well
These are ready to print with the labels, direction cards and data sheets already made.
- Office Filing Work Task Box, $4.50. Get it on Payhip
- Silverware Sorting and Rolling Work Task Box, $4.50. Get it on Payhip
- Vocational Work Task Boxes Starter Bundle, $16.99. Get it on Payhip
Free to try: Free Work Task Box Sampler, a couple of complete boxes so you can test the setup. Download it free on Payhip.
Start small, teach the routine and keep the work real. Your students will surprise you with how independent they can be.